6 Assembly Health
Another factor is the individual tension mast and its relative
health.
Suddenly after nearly nine years of use, I was getting loops on one
side of my knitting. I checked the usual culprits:
- The distance the carriage was traveling past the knitting
- That the knitting was centered on the machine
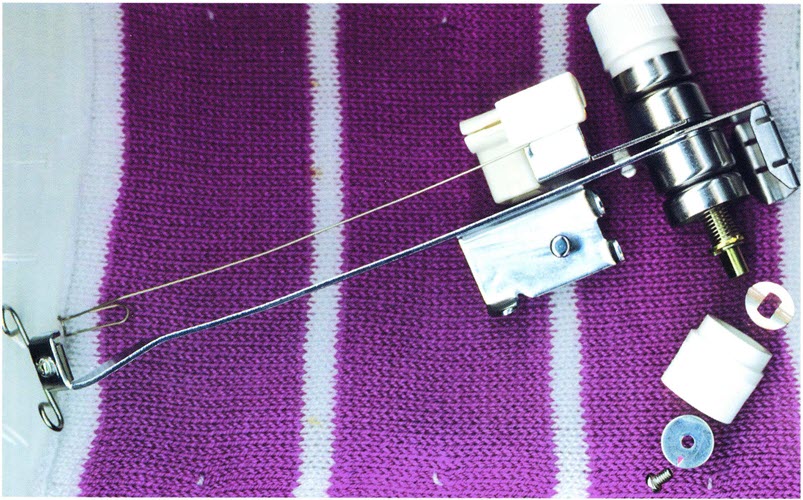
- That the yarn was in the mast tension disk properly (behind the little metal tab that holds the yarn in the tension dial mechanism)
- That the mast tension was properly adjusted for the yarn I was using.
Nothing was apparently wrong.
I called Alles Hutchison, the late publisher of Knitting Machine News & Views and a twenty-five year dealer of knitting machines.
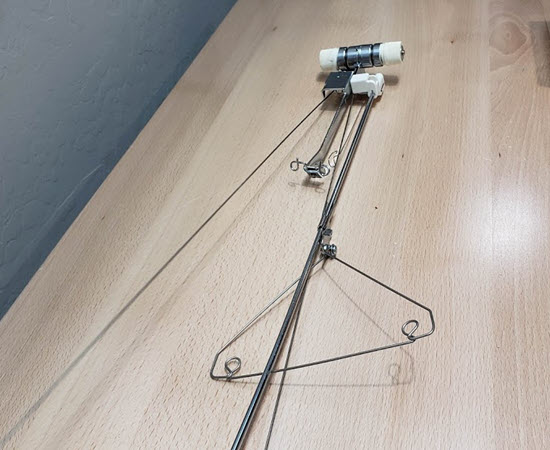
Her response was that the thin upper yarn guide had probably lost its "spring" and that I needed to replace that part of the mast.
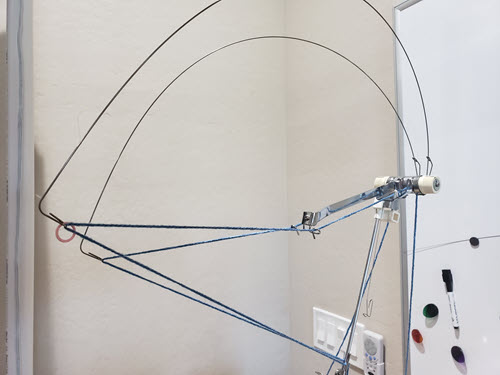 You can test the thin upper yarn guides by threading them with the same yarn and the tension dials at the same setting. Pull the yarn backwards through the mechanism and release. The ends of the yarn guides should bounce up to about the same height.
Sure enough when the new arm was installed, I no longer got loops on that edge of my knitting. She felt that
you should never leave the machine with the thin guide arm down holding yarn; you should release the pressure if you intend to be away for even a short while.
Yet I have seen knitters who always leave the yarn through the guide, and the guide bowed down and they have not experienced a problem.
You can test the thin upper yarn guides by threading them with the same yarn and the tension dials at the same setting. Pull the yarn backwards through the mechanism and release. The ends of the yarn guides should bounce up to about the same height. (I still have the "no spring" old guide and it does not bounce back up in this test; it is
at least 3" lower than the adjacent guide.)
My Passap dealer says that the Passap thin yarn guides should
also bounce back to about the same height; this means that one of my E6000 guides is no longer functioning as it should and I need to replace it.