Creating Collars on the Knitting Machine


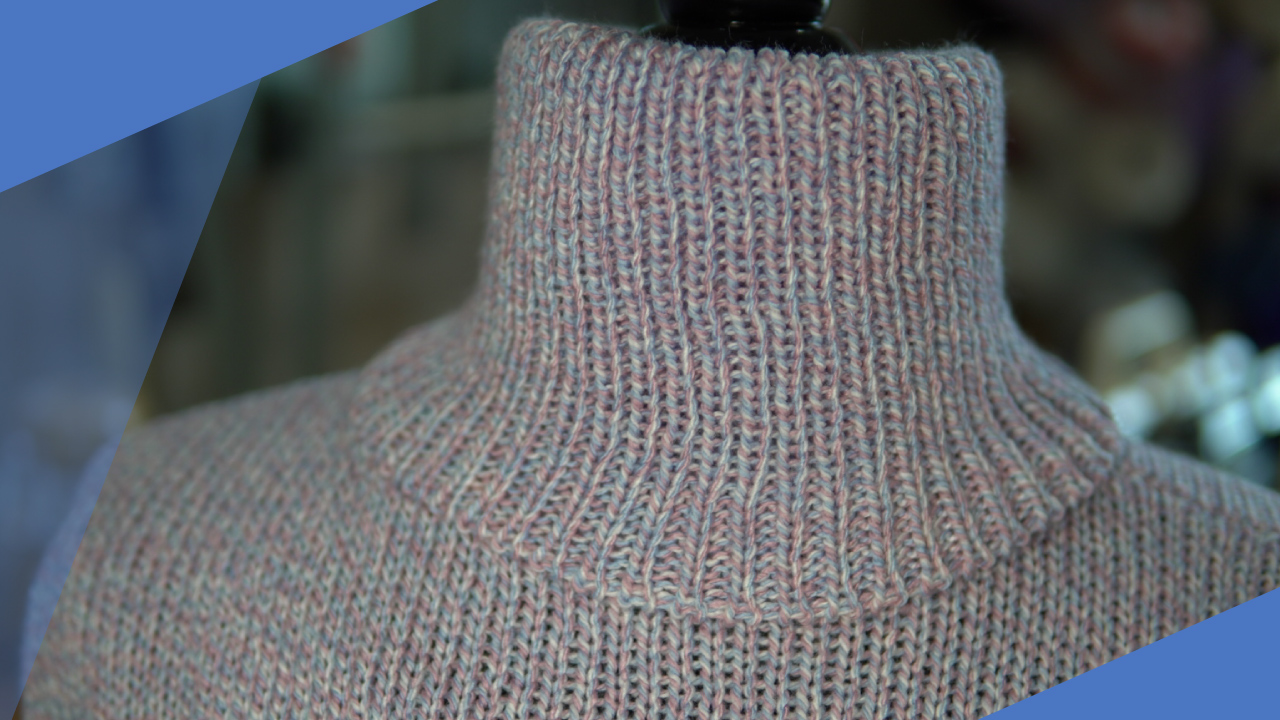
Collars pull the viewer’s eye to the wearer’s face and can be as important a design element as stripes, colorwork, or other design elements for enhancing the wearer’s appearance.

Article by Katharine Seaman (Used with permission)


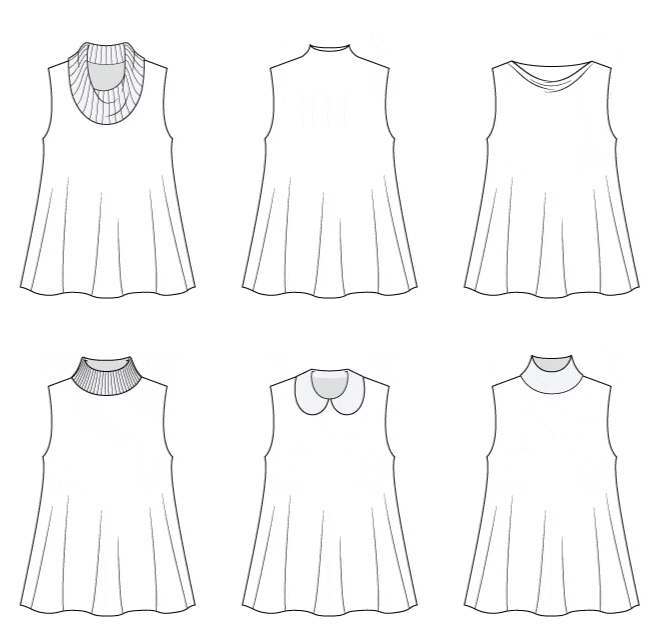
A lot of knitters tend to not think beyond the simple banded crew neck or V-neck. They do not think of adding a straight collar or a collar with lapels to either of these necklines. Their imagination does not take them to shawl collars or ruffled collars, all of which are possible with a knitting machine.

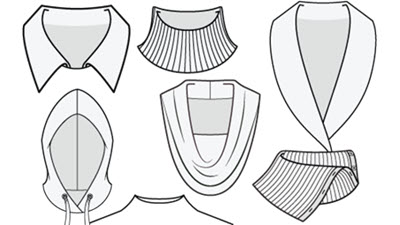
So begin to think beyond the flat band and the turtleneck. Think about whether a cowl, straight, shawl, ruffled, lace, or middy collar would enhance your garment and the person for whom it is intended.

1 Planning Ahead

Before you begin knitting your garment, you need to plan all parts of it—from the cast on to the seaming and blocking.
  1. Collars need to be planned along with any closure, if necessary, for the garment.
  2. You may choose a collar that can be knit on the garment or knit separately and attached by hand or as it is bound off.
  3. Collars for round necklines are easier to knit separately and stitched in place after completion.
  4. If the collar has a curve leading to a band, you will need to make a curve with short rows.
  5. If the collar and the band are knit in stockinette stitch, plan to have both the collar and the band knit double.


Plan your finishing
As you plan your garment, be sure to include your finishing in the plan.

  • Decide how you are going to finish the neckline and the center front.
  • Decide whether you want to take the stitches off at the center back on waste yarn or a capped stitch holder, or whether you want to bind off and pick up the stitches. Keeping the stitches live will make it easier to pick up the stitches later and provide continuity with the center back.

Experiment and play with your design as you work to create a truly unique garment


When planning a collar, keep in mind the weight of the yarn.

Heavier collars are best when knit separately and joined to the neckline with the latch tool bind off or by slip crocheting to the neckline’s base row.

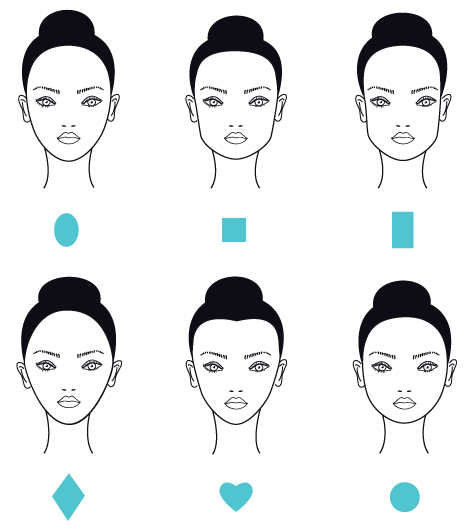
2 Choose a Collar to Enhance the Wearer

There are some styling tricks to keep in mind as you choose a flattering collar:
  • A broad jaw looks best in a collar with long lines, such as a deep-collared V
  • A small face can carry off any kind of a feminine collar
  • A long neck requires a round neckline with a softening line
  • A short neck looks good in a V-neck with a straight or shawl collar.


3 Working the collar

A Straight Collar:
  • A straight collar is made separately by casting on stitches for the width of the collar (about 2.75”) at the point where you want your collar to begin.

    Knit across until the collar is the desired length, then knit the remainder of the band.

    If the collar is attached to a button band, remember to plan for your buttonhole placement and make the buttonholes.

Classroom: Collars for Machine Knitters

A Collar with Lapels
  • A collar with lapels would need to be placed on a V-neck garment, and the collar would extend over the shoulders.

    The garment can have a full-length opening, or it can be an “over the head” garment, but it does need a V-shaped opening, ending in a square edge of approximately 1” or wider.

    The band starts at the width of the bottom edge or your desired band width for a cardigan opening. Make increases when you are within the length that you wish for the lapels, then bind off for the top of the lapels.

    On the next row, cast on the same number of sts (or more) that you bound off, depending on how you want the lapel to appear.

    Gradually increase to your desired width for the collar. Increase to about 7” to allow for the collar’s stand.

    Reverse these dimensions, starting at the center back, for the opposite side of the collar and band.
A Round Neckline
  • For a round neckline, knit the front band the desired length to the top edge of the garment, then cast on half of the stitches for the collar and knit it for approximately 4”, or your desired depth, and bind off.

    Repeat for the opposite side.

    You will have a center back seam in this collar.
A Shawl Collar
  • A shawl collar requires increases at the inner edge of the front band as you approach the shoulder.

    When the shoulder is reached, work short rows to turn the collar towards the back.

    This will give it a nice drape and stand at the back of the neck.
A Square Neckline
  • A square neckline can be enhanced with a collar that covers the sides and back of the garment, while the U-neck can be enhanced with a collar that fits around the entire neckline.
Ruffled Necklines
  • Ruffled necklines are worked by picking up the stitches as you knit the ruffle, starting from a shoulder seam, and working around the garment.

    The ruffle can be wide or narrow.
Decorative Edgings
  • Decorative edgings can be added to the garment and are knit separately.

4 Experiment with designs

If you are not sure how the various elements will work together, make some paper dolls or paper patterns. They can be full-size or scaled down. These can help you determine the widths and the lengths of the collars, as well as plan for the right and wrong sides.

You can also swatch. Make some neckline swatches and try different collars on them. Not only will they give you an idea of how the garment will look but also how the fabric will drape.


Login You must be logged in to add your comments
0 COMMENT